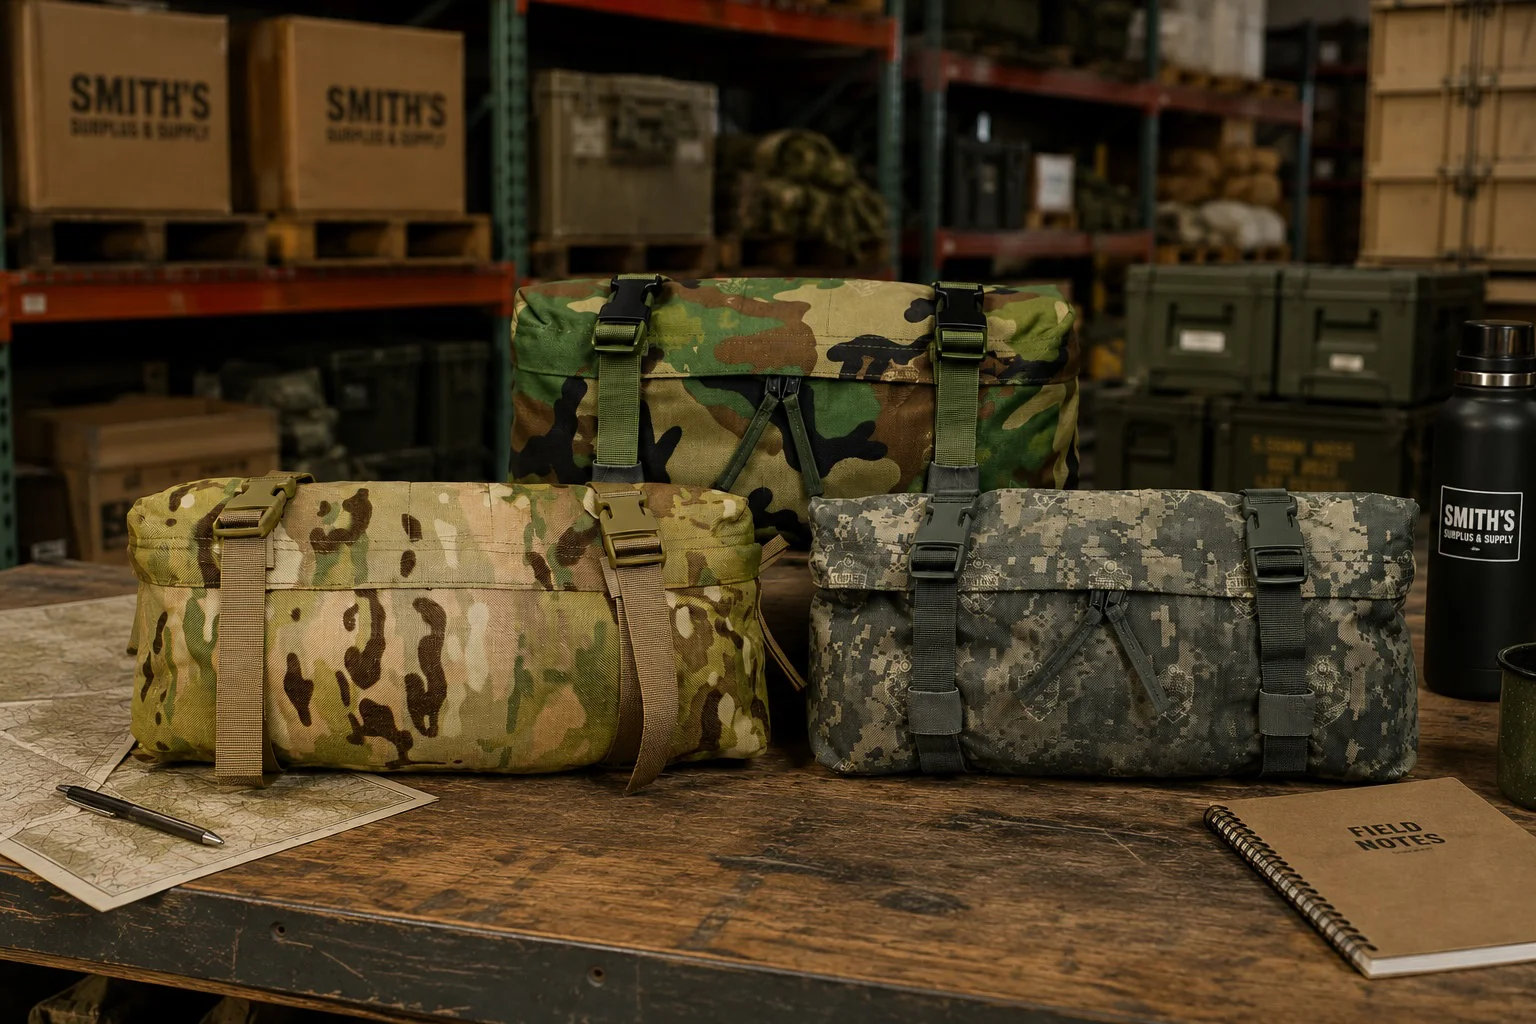
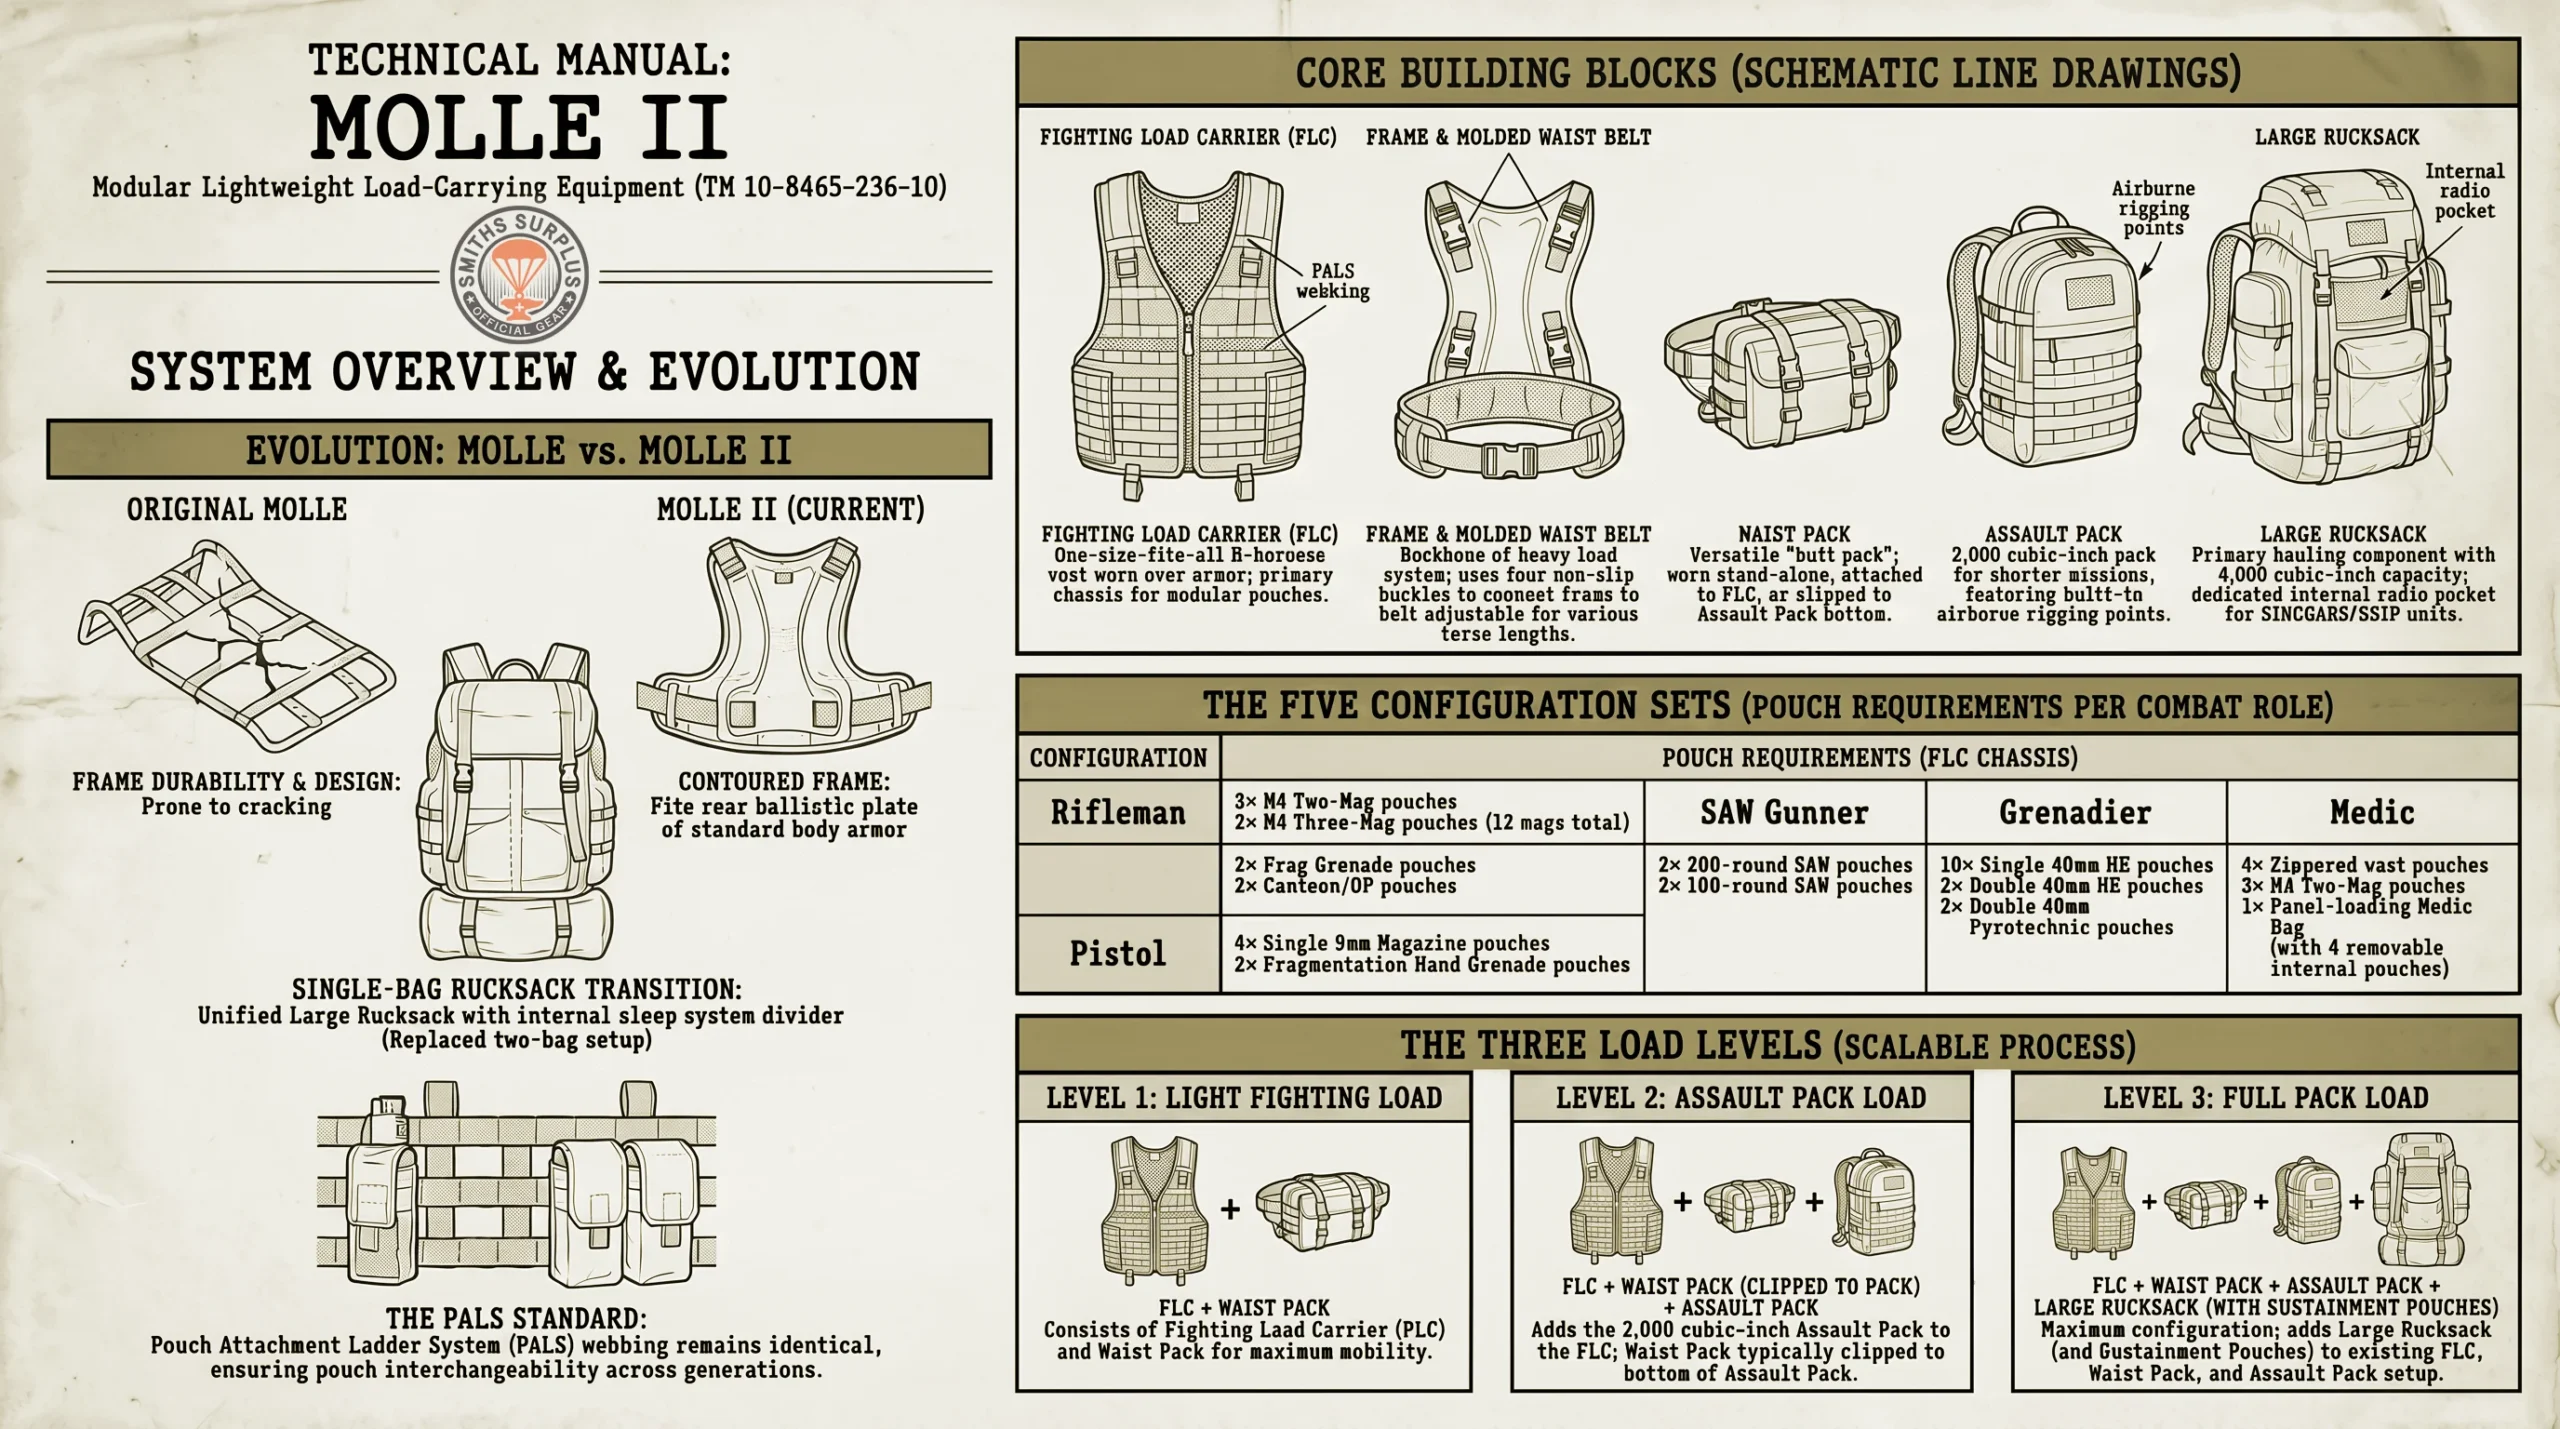
Whether you’re caught in a downpour on patrol, setting up camp in wet conditions, or protecting your gear from morning dew, water is a constant adversary. Moisture weakens canvas, ruins leather, and can cut a mission short. Fortunately, waterproofing your military surplus gear doesn’t require expensive sprays or fancy equipment—just old-school know-how. This guide covers a durable beeswax and oil blend that’s been used for generations, plus an emergency candle-and-fat method for when you’re deep in the field and low on supplies.
The Beeswax & Oil Waterproofing Method
This traditional formula combines the best parts of the classic oilskin treatment—durability, water resistance, and longevity—without requiring industrial gear. It’s ideal for canvas packs and tarps, shelter halves, jackets, and leather gear.
Recommended Ratio:
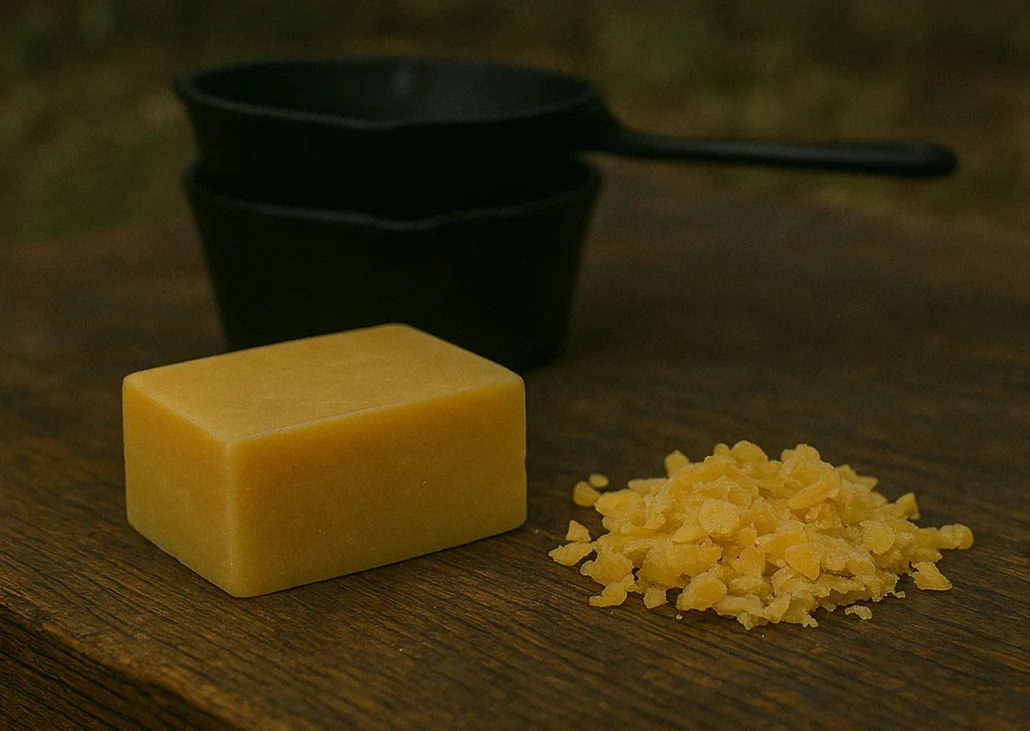
- 2 parts beeswax
- 1 part boiled linseed oil (or walnut oil for a natural alternative)
- Optional: 1 part turpentine or mineral spirits (for easier penetration and a smoother finish)
How to Make It:
- Grate or chop beeswax and melt it using a double boiler setup—avoid open flames.
- Once melted, stir in the oil. If desired, add a small portion of turpentine to thin the mix.
- Stir until smooth and pour into a tin or jar for storage.
How to Apply:
- Clean and dry your gear thoroughly.
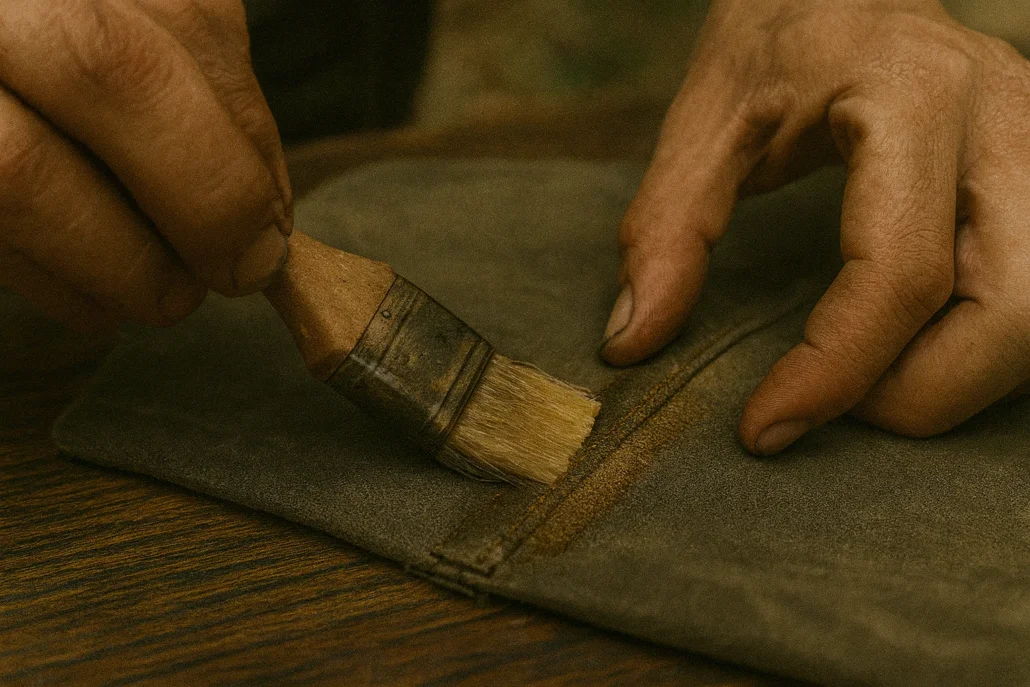
- Brush or rub the warm mixture evenly onto the fabric, focusing on seams and edges.
- Gently heat the treated surface using a hairdryer, heat gun, or the sun to allow the mixture to penetrate the fibers.
- Wipe off excess and hang the gear in a ventilated area for 24–48 hours to cure.
Emergency Field Waterproofing
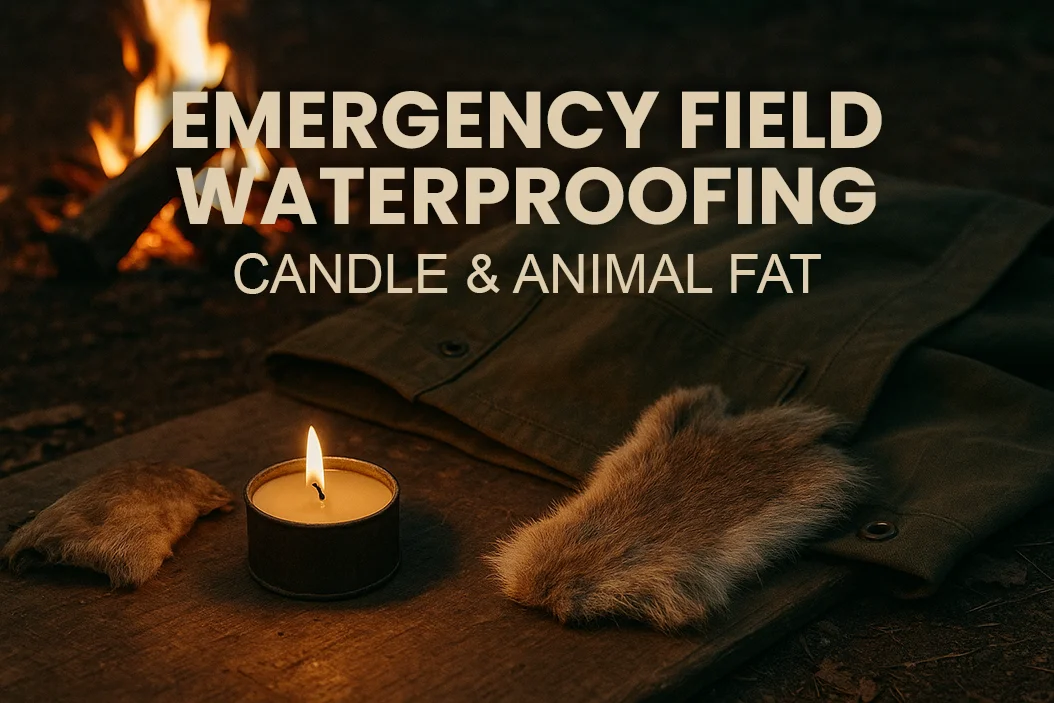
When you’re in the field with no wax or oil mix on hand, you can improvise. With a candle stub and a bit of animal fat or tallow, you can create an emergency waterproofing treatment in minutes.
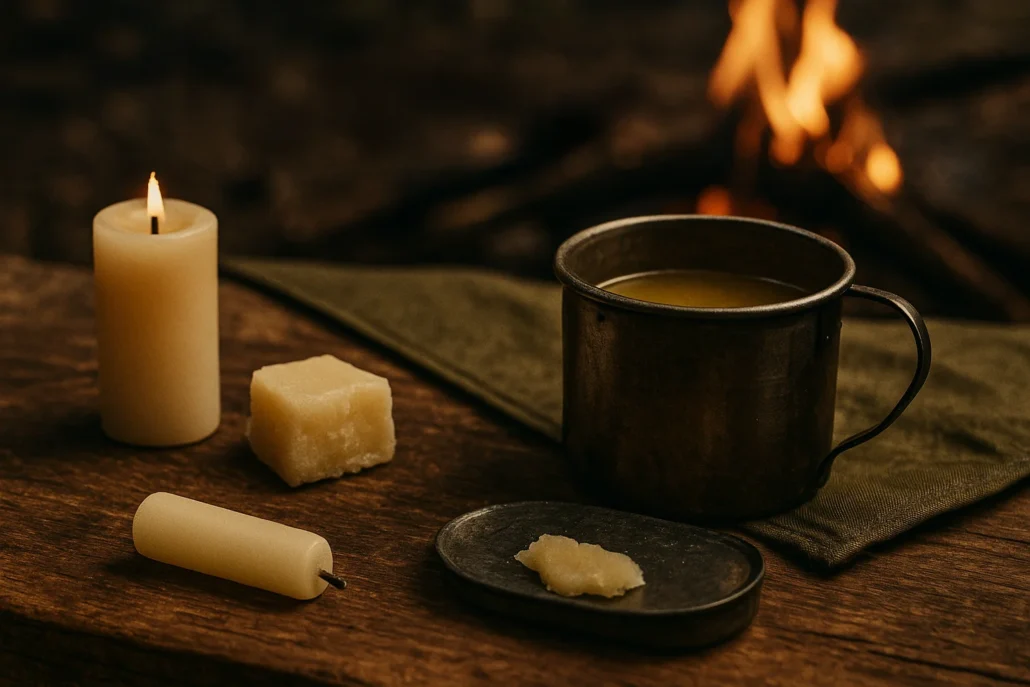
You’ll Need:
- Candle (beeswax or paraffin)
- Animal fat, grease, or oil
- Tin cup or metal lid for melting
- Heat source (campfire, stove, or candle flame)
Where to Source Fat on Small Game — and How to Render It
When you’re improvising waterproofing in the bush, rendered animal fat (tallow) is a reliable binder and softener for wax mixes. Small game won’t yield much, so you want the fatty pockets that give the best return for the work.
WHAT TO LOOK FOR
Suet / kidney fat (best): the dense fat pocket around the kidneys and loins — highest quality for rendering.
Back/dorsal fat: under the skin along the spine on many small mammals.
Abdominal fat: thin layers around the belly cavity — useful when combined with the above.
Simple, safe extraction
Work clean. Use gloves if available and a clean tin or container to hold fat.
Remove the skin and locate the fatty pockets (kidney/suete area and the back). Gently separate fat from muscle with a knife — you’re trying to keep fat tissue and avoid meat contamination.
Store collected fat in a clean container. Keep it cool and out of direct sun if you can. Use it within a short time if you can’t render immediately.
Rendering fat into tallow
Place the fat in a small metal tin or pot with a little water (prevents scorching) and heat gently over low flame or next to coals. Don’t scorch — slow and low melts fat cleanly.
As the fat melts, strain liquid through a clean cloth or fine mesh into a clean container to remove solids.
Let the strained liquid cool and solidify — that’s your tallow. Store in a sealed tin; it keeps for weeks if dry and cool.
Chop or tear the fat into small pieces so it heats evenly.
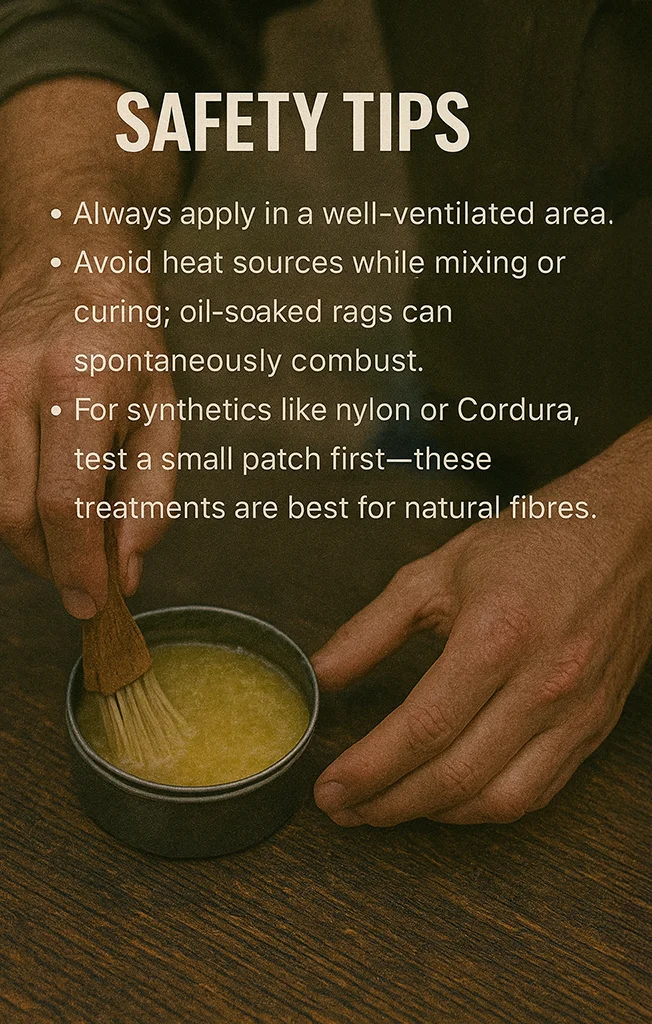
Safety and hygiene
Follow local hunting and trapping laws — licensing, seasons, and species protections matter.
Only use healthy animals. If an animal looked sick or has unusual lesions/odors, don’t use it.
Practice basic hygiene — avoid cross-contamination with cooking utensils and wash hands/tools when possible.
Render outdoors or in a ventilated area; keep melted fat away from open flames and never leave hot tins unattended.
Field WATERPROOFING Steps:
Scrape mud and grit off your gear.
Melt the candle in a tin over low heat.
Stir in a small amount of animal fat—about 3 parts wax to 1 part fat.
Apply the warm mixture to the surface of your fabric or leather using a rag, stick, or your fingers (wear gloves if possible).
Hold the treated surface near, but not over, a a candle fire to allow the mixture to absorb.
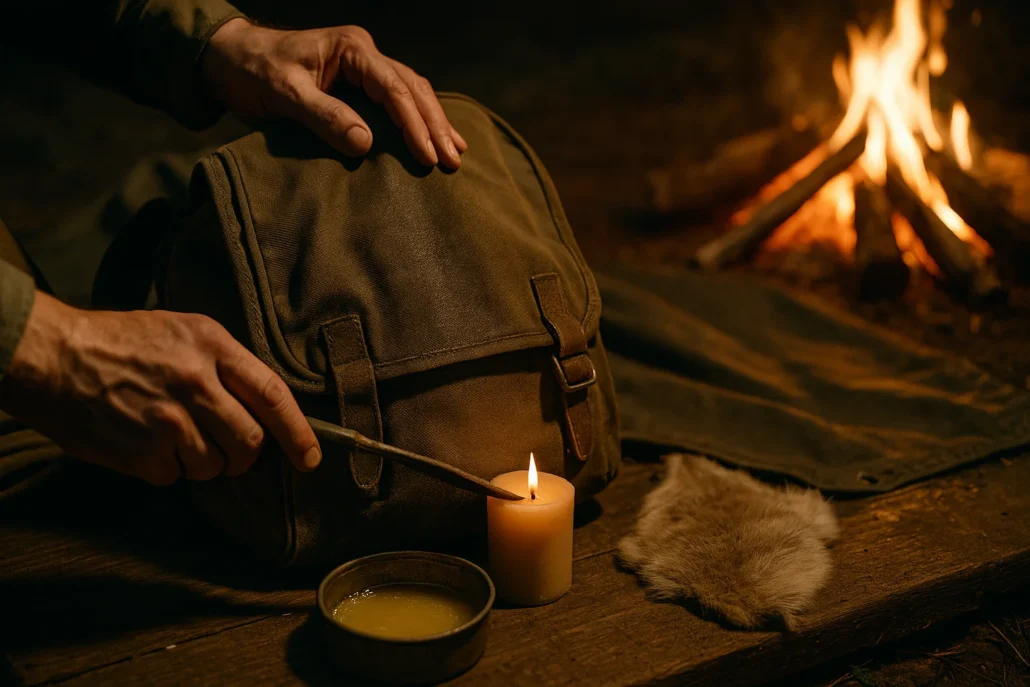
The result? A durable, water-repellent surface that beads rain, resists abrasion, and extends the life of your surplus gear. Expect a slightly darker tone and a firmer feel—proof your gear is now field-hardened.
Wax vs. Fat: Which Waterproofs Better in the Field?
Both methods get the job done—but in very different ways.
If you’re prepping gear before a deployment or extended field time, the beeswax and oil blend wins hands-down. It’s durable, long-lasting, and gives your canvas or leather a hardened, water-repellent finish that can handle abuse.
The candle and animal fat mix, on the other hand, is your field-expedient fallback. It’s quick to make, easy to apply, and buys you enough time to get through a storm, but it’s not built for longevity.
Bottom line: wax is your permanent fix; fat is your lifeline when conditions go sideways.
| Method | Materials | Durability | Field Use | Notes |
|---|---|---|---|---|
| Beeswax + Oil Blend | Beeswax, linseed/walnut oil, optional turpentine | Long-lasting | Best for pre-deployment prep | Classic waterproofing; darkens fabric |
| Candle + Animal Fat | Candle stub, animal fat | Short-term | Emergency only | Quick fix; strong odor; may attract wildlife |
Stay Dry, Stay Operational
DIY waterproofing isn’t just a backwoods trick—it’s a skill that keeps your gear mission-capable when conditions turn rough. Whether you’re in the garage heating a wax blend or hunched over a campfire with a candle and a tin, the principle’s the same: control the elements before they control you.
A little time, a little heat, and the right mix of wax or fat can turn basic surplus gear into field-grade protection.
When the skies open up and the terrain turns to mud, you’ll be ready.
Gear sealed. Mission ready.