
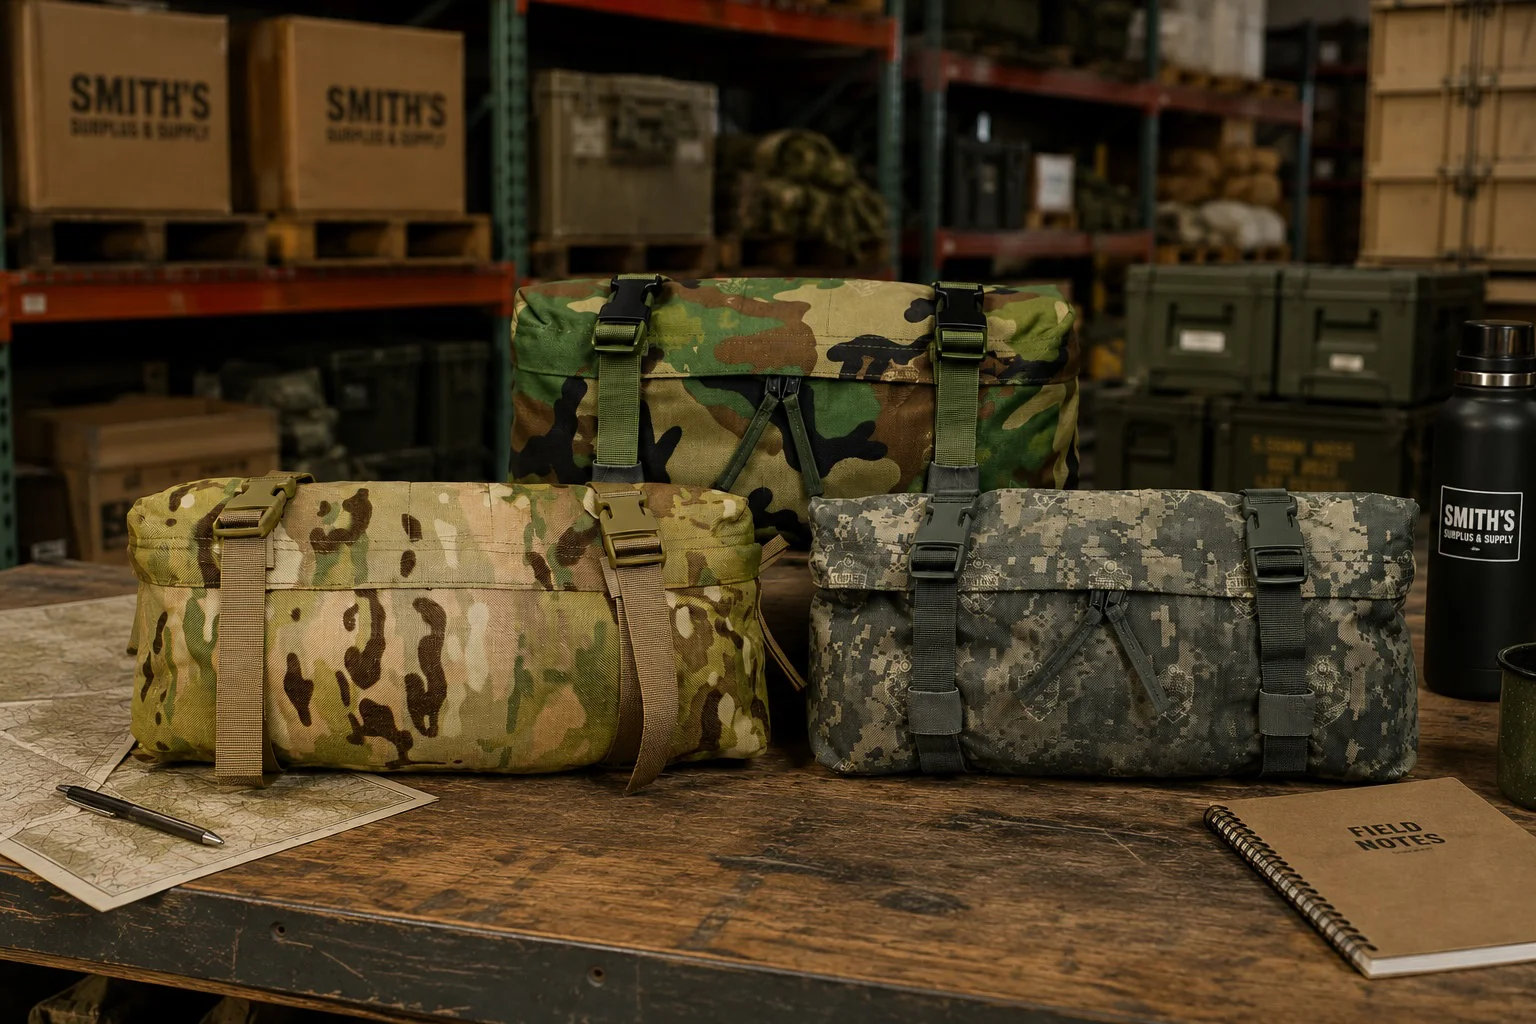
Most guys write off the MOLLE II Waist Pack as a glorified fanny pack — something you bolt on when the Assault Pack runs out of room and forget about otherwise. Fair enough, that’s one job it does. It’s nowhere close to the only one.
TM 10-8465-236-10, the Army’s own operator manual for the MOLLE II system, lays out three distinct, officially documented ways to carry this thing. Once you know all three, it stops looking like an accessory and starts looking like what it actually is: a small modular system riding on the back of a bigger one. (If you want the full picture of how every MOLLE II component fits together, our MOLLE II System Explained guide breaks down all six configuration sets and three load levels.)
1. Bolted to the Assault Pack
This is the setup most soldiers run, and for good reason. The waist pack’s stiffened webbing straps — each capped with a female side-release buckle — thread through four webbing keepers on the bottom of the Assault Pack and lock the two pieces into one unit. No loose ends, no separate harness to fight with. You get extra capacity exactly where your Assault Pack load needs it, without changing how the pack rides on your back.
2. Mounted straight to the FLC
Drop the Assault Pack entirely and the waist pack still works. It mounts directly to the back of your Fighting Load Carrier — same stiffened webbing tabs, woven into the slots built into the rear of the vest. This is the hardware behind the Army’s “Light Fighting Load”: FLC plus waist pack, nothing else. If you’re trying to run lean without giving up storage altogether, this is the configuration that does it.
3. Standalone, on its own waistbelt
The MOLLE II Waist Pack doesn’t need either of the other two. It ships with its own 2-inch waistbelt, so it can ride completely solo — what the manual calls “Stand Alone.” The detail people miss: that waistbelt isn’t just sitting there for show. When you’re running standalone, it’s deployed and doing work. Mount the pack to the Assault Pack or FLC instead, and that same belt tucks into a tunnel sewn into the back of the pouch so it doesn’t flap, snag, or get caught on anything.
Standalone is also the configuration that unlocks the waist pack’s best party trick: spin it around to the front of your body and dig through it without shedding the FLC or the Assault Pack. If you’ve ever had to strip off a full pack just to find a multitool, this is the fix.
Which configuration should you run?
| Load | Waist pack setup |
|---|---|
| Full Pack Load (FLC + Assault Pack + Large Ruck) | Mounted to Assault Pack bottom |
| Assault Pack Load (FLC + Assault Pack) | Mounted to Assault Pack bottom — Army’s documented default |
| Light Fighting Load (FLC only) | Mounted directly to FLC |
| Any load, when you need fast access | Standalone, rotated to the front |
There’s no wrong answer here — only the wrong setup for the load you’re actually carrying that day.

The takeaway
The MOLLE II Waist Pack was never built to be locked into one role. It’s a small modular piece engineered to move between three jobs depending on the mission — which is the same design philosophy running through the entire MOLLE II system: gear that adapts to you, not the other way around.
Shop MOLLE II Waist Pack → Shop MOLLE II Assault Pack → Shop MOLLE II FLC Vest → Shop the Full MOLLE II System →